Setting Target Environments and Technologies
Optimizing your scan settings by configuring the technologies used by your target can significantly enhance the efficiency and accuracy of SmartScanner. This process reduces scanning time and minimizes the number of requests.
Configuring Technologies
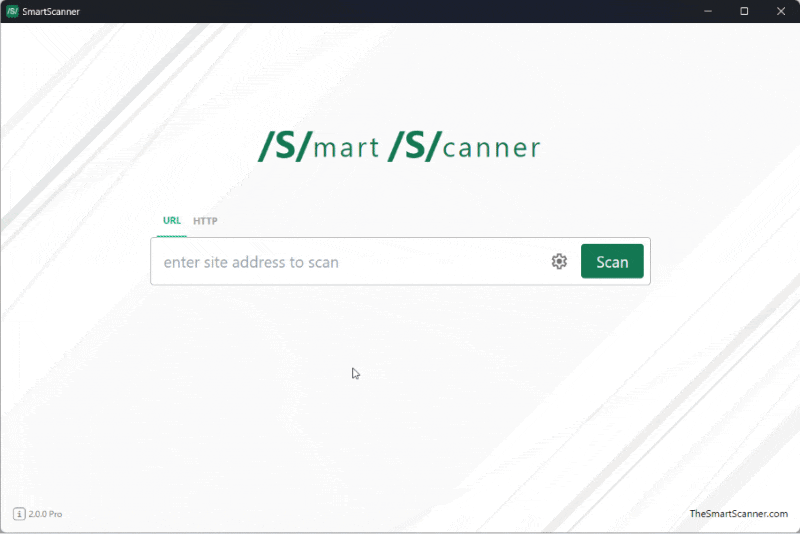
- Access Scan Configurations: On the main page, click the gear icon in input field to open the scan settings.
- Enable Advanced Settings: Check the “Advanced Settings” box to reveal more options.
- Navigate to Technologies: Click “Technologies” in the right-side navigation panel.
- Select Technologies: In the Technologies tab, choose the technologies used by your scan target from a dropdown list.
- Define Technology URLs: For each selected technology, specify the URL where it is used. For instance, if WordPress is used at
/blog/, select WordPress and enter/blog/in the URL field. This URL is relative to the target’s base URL. If you leave the URL blank, the technology will be considered globally.
Benefits of Configuring Technologies
- Improved Accuracy: Tailor tests to specific components, resulting in more precise vulnerability detection.
- Optimized Scanning: Bypass irrelevant tests, reducing scanning time and server requests.
- Focused Testing: Apply targeted tests for specific technologies, ensuring comprehensive coverage of potential vulnerabilities.
Example Use Case
Suppose your target website uses an Apache web server, a MySQL database, and a WordPress CMS located at /blog/. Configure SmartScanner as follows:
- In the Technologies tab, select “Apache” for the web server.
- Select “MySQL” for the database.
- Select “WordPress” for the CMS and enter
/blog/in the URL field.
This configuration ensures SmartScanner focuses on tests relevant to Apache, MySQL, and WordPress, making the scan efficient and effective.
Configuring target environments and technologies is crucial for optimizing your security scans with SmartScanner. By providing detailed information about your web application’s infrastructure, you ensure a thorough and efficient vulnerability assessment.